Reaching Completion on the Window Project
 Day One
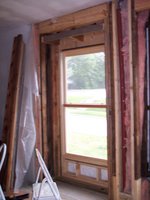
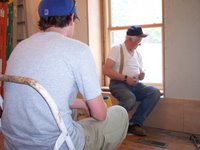
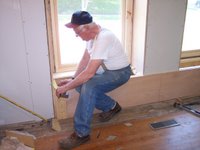
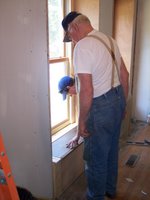
On the first day of the project, Dad and Conrad worked on getting the framing completed. There was a lot of work that had to be done with just getting things shimmed out so that all sides would be even around the windows. They cut little pieces, put them in, then scratched their heads as they discovered that measurements that worked at the top of the wall didn't hold true at the bottom, distances weren't the same on the left or right hand of each window, and the floors weren't even beneath. It was tedious and annoying, but they toughed it out and got the work done.
 Day Two
The next day, they shimmed out the window area some more, getting the wall flat and plumb so that the drywall and panelling could be installed around the window area. It took the entire day, but by the time they stopped for the day, the windows were starting to take shape. Extra insulation was added to the wall as well, and plastic vapor barrier stapled over the top for good measure. This area should be very well protected from the elements.
 Day Three
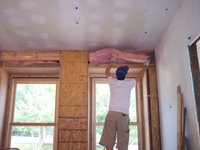
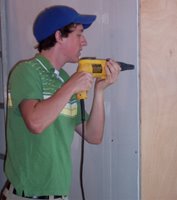
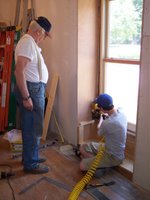
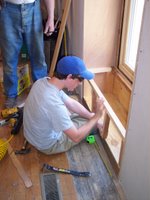
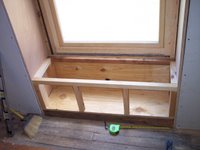
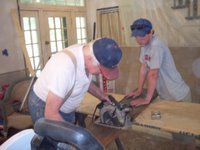
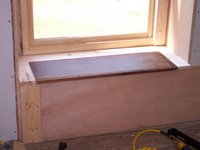
They began in the morning with installing the panelling on the sides and tops of the window wells. Finally, the wall was ready to have the chip board lain on the wall to add extra bracing support and to shim out the surface for drywall. It took a lot of head scratching and many many measurements, but the end result was really worth the effort.








Day Four










0 Comments:
Post a Comment
<< Home