

Day 3 of the Sunroom Project
Today, work went a little slower, but everything was in the details.
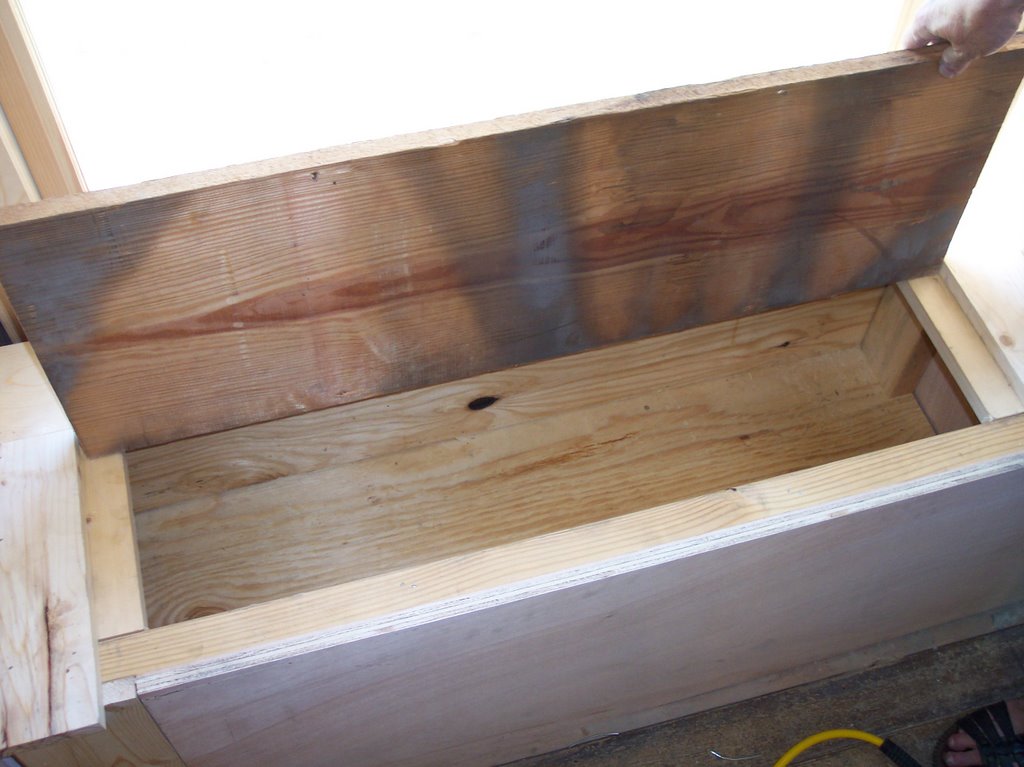
First of all, I tested to see what the floor underneath the living room hardwood floor looks like. I knew that there were two layers of flooring in the living room and dining room, and though the top layer has a lot of problems, the floor beneath is pine and can be patched much more easily. The pine that was the original flooring is a wider plank, and we've salvaged enough of that flooring from the sunroom floor to patch wherever necessary. I used the crowbar to try to remove the narrower oak top layer, and it comes up easily. Not only that, quite a bit of it can be salvaged--enough to use to floor my upstairs bedroom! So it won't go to waste! I was going to have to buy flooring for that room, but now I won't have to! I'm going to keep taking up this oak plank stuff, and then we'll try patching and sanding the pine and see whether it's good enough to leave alone. I think it just might be! Hooray! That's at least $3500 I won't have to spend!
Dad and I also took a look at all of the rosettes we have for the moldings around the doors and windows in the house, and I'm really excited about finding ways to clean them up and reuse them. In addition, the Sheltered Workshop in Keatsville, MO called me this weekend to let me know that they've finished stripping the French doors that go in my dining room as well as the first installment of moldings. I'm so excited to get that stuff home and see what it will look like! Mom is picking it up tomorrow while I'm at work! Hooray again!
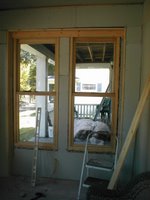
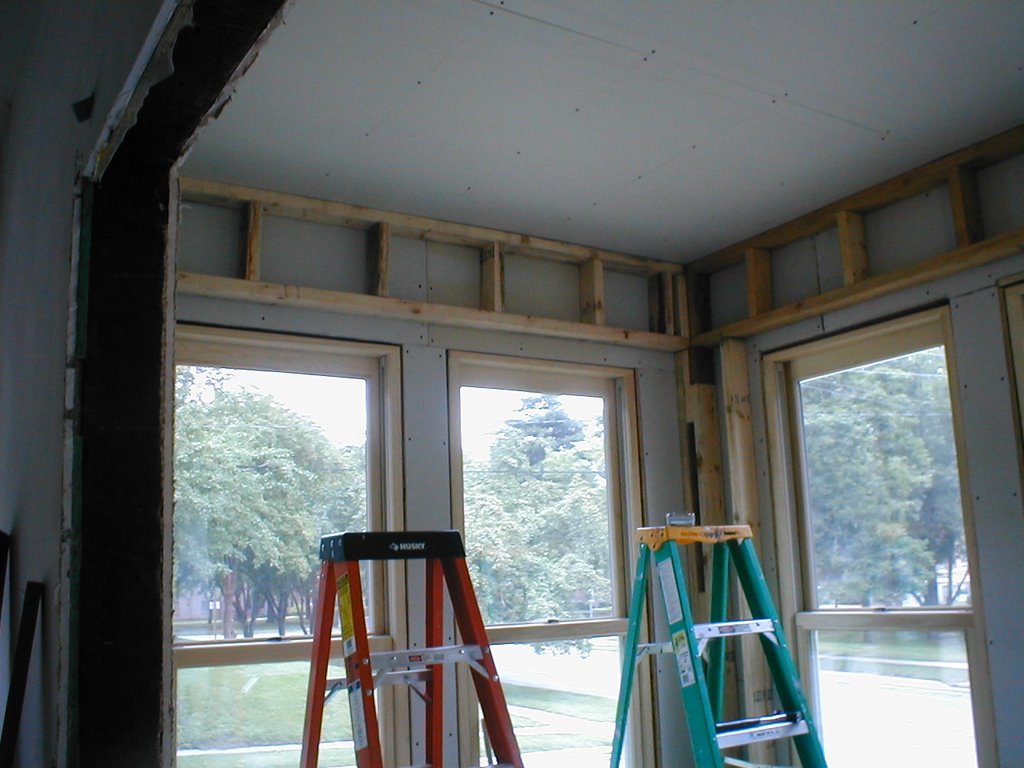
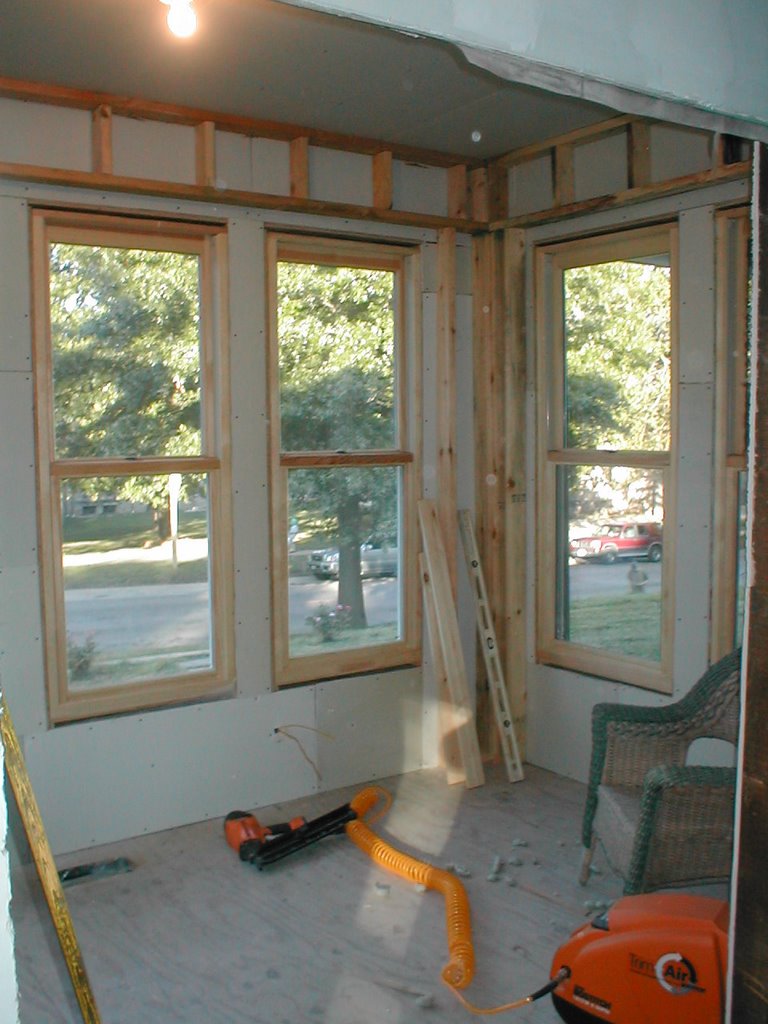
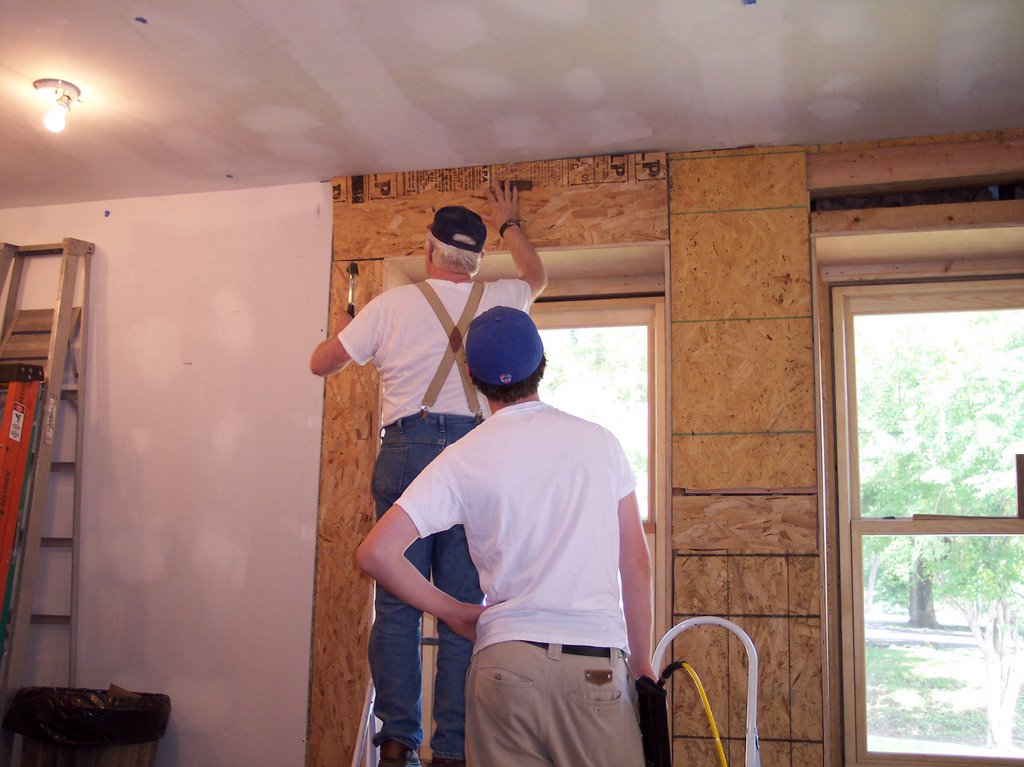
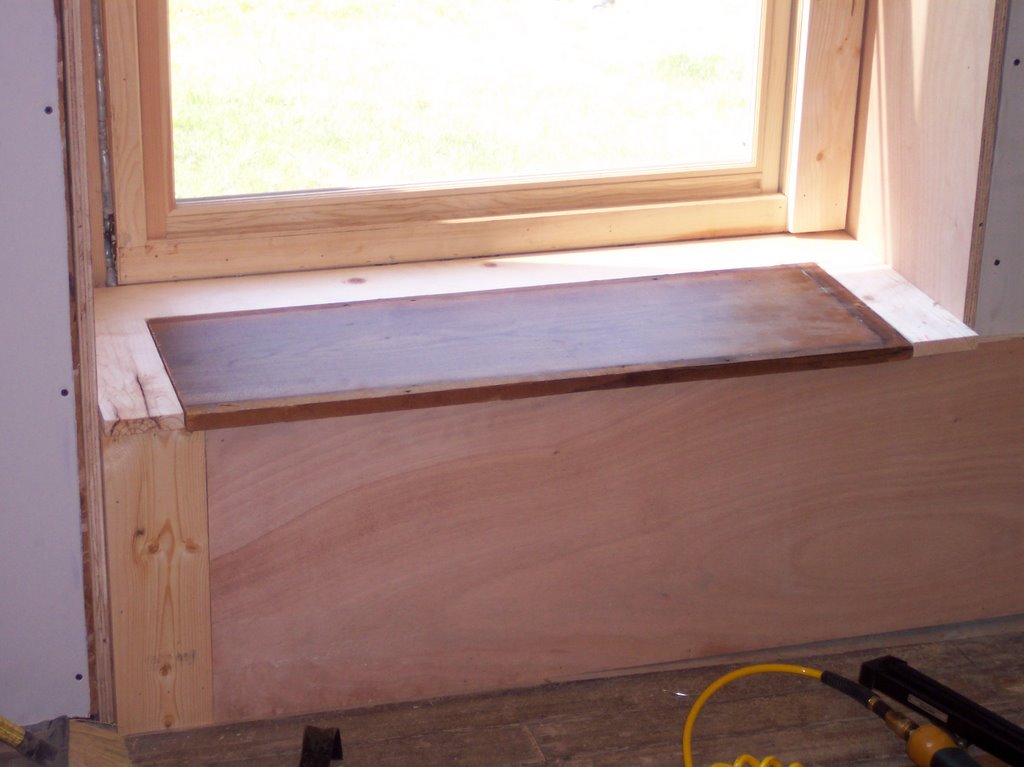
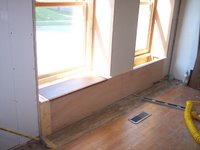
Above is the first of the work we did today in the sunroom. We're installing wood surrounds in the inset areas around the windows. Here, we have the first pieces in place--the sides and top of the alcove as well as the top board of the window frame.
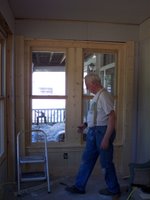
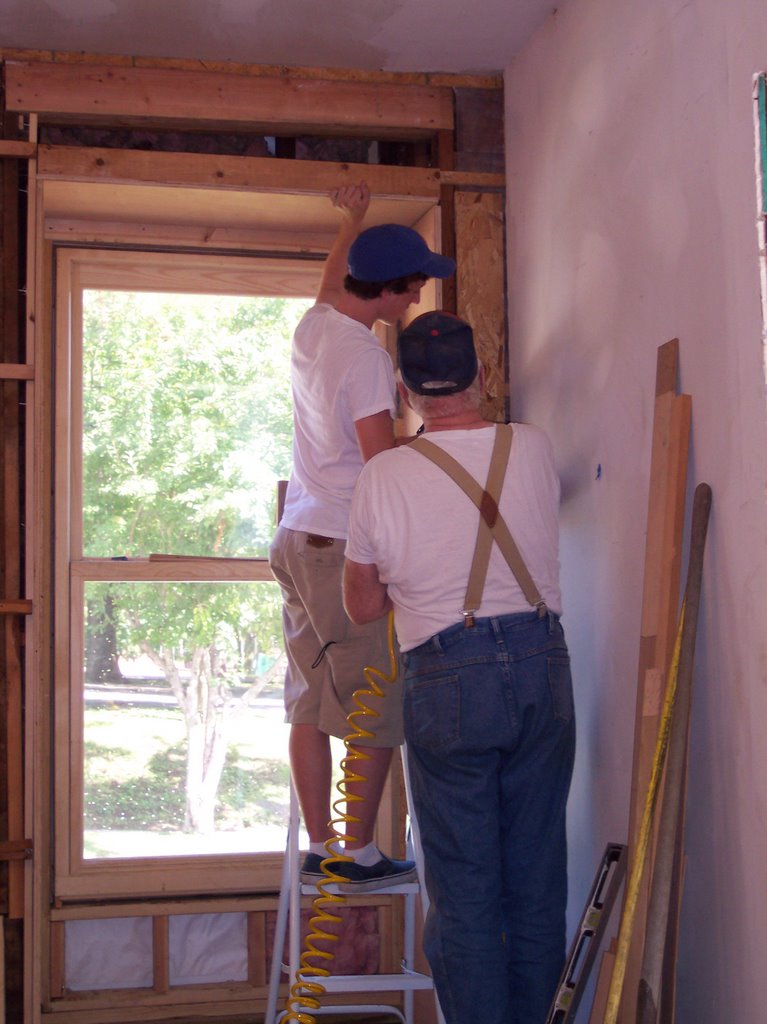
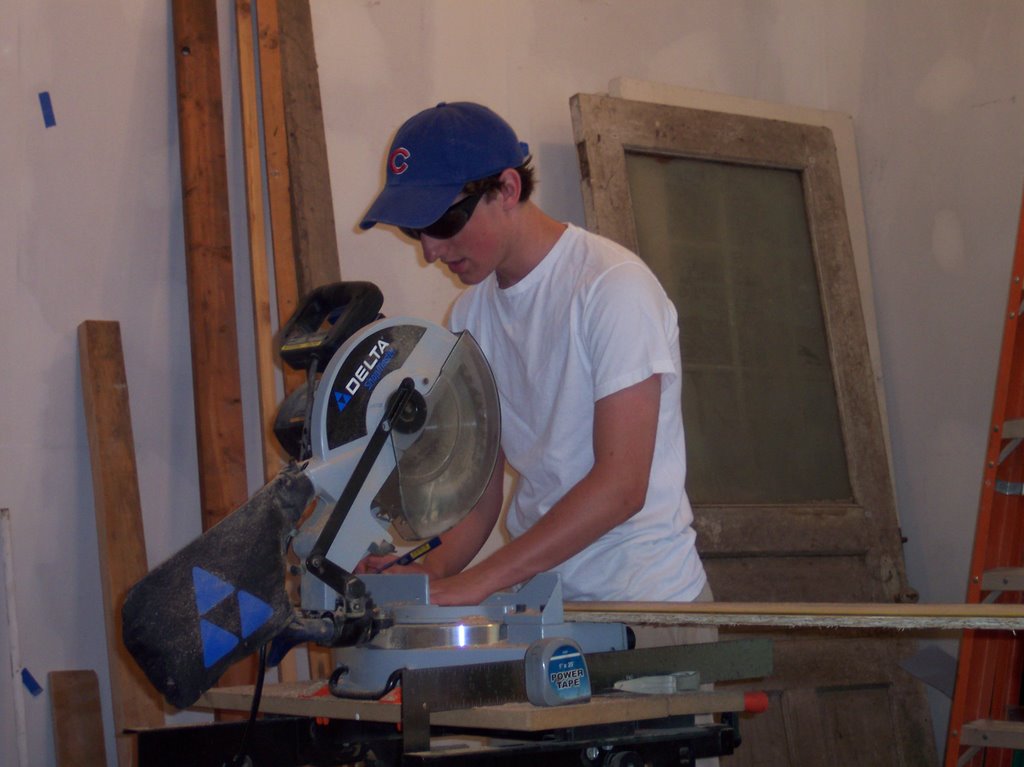
Dad cut the hole in the panelling for the electric outlet box, and then we installed all of the other wood pieces around the window area. It took a long time measuring and cutting each piece to a custom fit, but it's going to look fantastic! I'm really pleased!

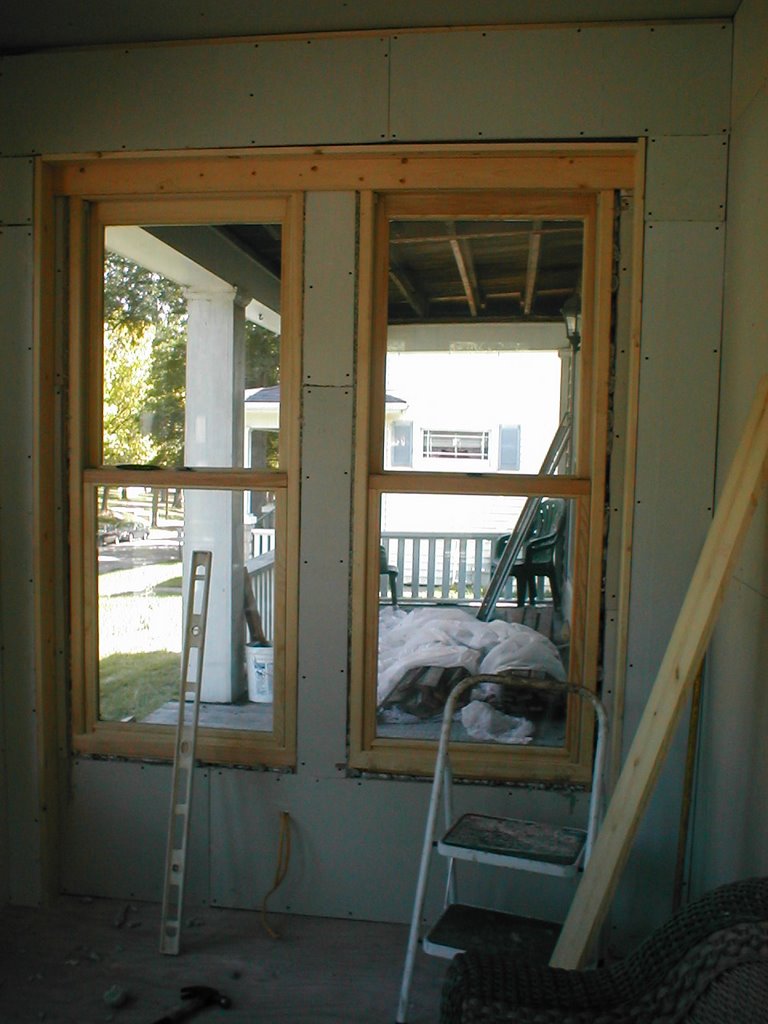
We put two boards next to the alcove so you can see an approximation of what the finished product will be. There will be inside corner molding on the lower panel, the window sill has to be rounded over on the outside edge, and then around the alcove will be a carved plinth block on the bottom on either side, a board with three routed vertical grooves on the top and sides, and two rosettes on the corners. Then wood filler will be used to fill any joints and the wood will be painted white.
Dad and I also chose the paint color we want for the walls. I'll post a photo of the color. It's sort of a light brownish color--neutral. The floors will then have that marble that I posted photos of earlier this year, and crown molding and baseboards will be installed (also painted white). I can't wait to see it all finished! Not long now! Hooray x 3!!!

First of all, I tested to see what the floor underneath the living room hardwood floor looks like. I knew that there were two layers of flooring in the living room and dining room, and though the top layer has a lot of problems, the floor beneath is pine and can be patched much more easily. The pine that was the original flooring is a wider plank, and we've salvaged enough of that flooring from the sunroom floor to patch wherever necessary. I used the crowbar to try to remove the narrower oak top layer, and it comes up easily. Not only that, quite a bit of it can be salvaged--enough to use to floor my upstairs bedroom! So it won't go to waste! I was going to have to buy flooring for that room, but now I won't have to! I'm going to keep taking up this oak plank stuff, and then we'll try patching and sanding the pine and see whether it's good enough to leave alone. I think it just might be! Hooray! That's at least $3500 I won't have to spend!

Dad and I also took a look at all of the rosettes we have for the moldings around the doors and windows in the house, and I'm really excited about finding ways to clean them up and reuse them. In addition, the Sheltered Workshop in Keatsville, MO called me this weekend to let me know that they've finished stripping the French doors that go in my dining room as well as the first installment of moldings. I'm so excited to get that stuff home and see what it will look like! Mom is picking it up tomorrow while I'm at work! Hooray again!
Above is the first of the work we did today in the sunroom. We're installing wood surrounds in the inset areas around the windows. Here, we have the first pieces in place--the sides and top of the alcove as well as the top board of the window frame.

Dad cut the hole in the panelling for the electric outlet box, and then we installed all of the other wood pieces around the window area. It took a long time measuring and cutting each piece to a custom fit, but it's going to look fantastic! I'm really pleased!

We put two boards next to the alcove so you can see an approximation of what the finished product will be. There will be inside corner molding on the lower panel, the window sill has to be rounded over on the outside edge, and then around the alcove will be a carved plinth block on the bottom on either side, a board with three routed vertical grooves on the top and sides, and two rosettes on the corners. Then wood filler will be used to fill any joints and the wood will be painted white.
Dad and I also chose the paint color we want for the walls. I'll post a photo of the color. It's sort of a light brownish color--neutral. The floors will then have that marble that I posted photos of earlier this year, and crown molding and baseboards will be installed (also painted white). I can't wait to see it all finished! Not long now! Hooray x 3!!!
posted by Delia | 7:48 PM
|
0 comments
![]()
![]()